Great setup Derek. Looks to be flexible, efficient and powerful.
Have you done much programming of the Montage at this point?
What’s your balance now between VST instruments and hardware with the new configuration?
1 Like
Thanks, David.
My only programming of the Montage so far has been setting up existing performances more to my taste, merging some and setting up set lists, including getting my old Welsh Floyd show back up and running.
n terms of balance between live and VST, I’ll find that out as I go along.  I’ll be developing a few song ideas over the holiday now which will be a combination of Kronos, Montage, DIVA and REPRO-1 at least.
Regards
Derek
1 Like
Back at the end of August, I posted my rig. (Aug 29). I liked the way it looked rolling into the gig, but not the look on stage so much, so I felt it needed some modifications, so here’s what it looks like now:
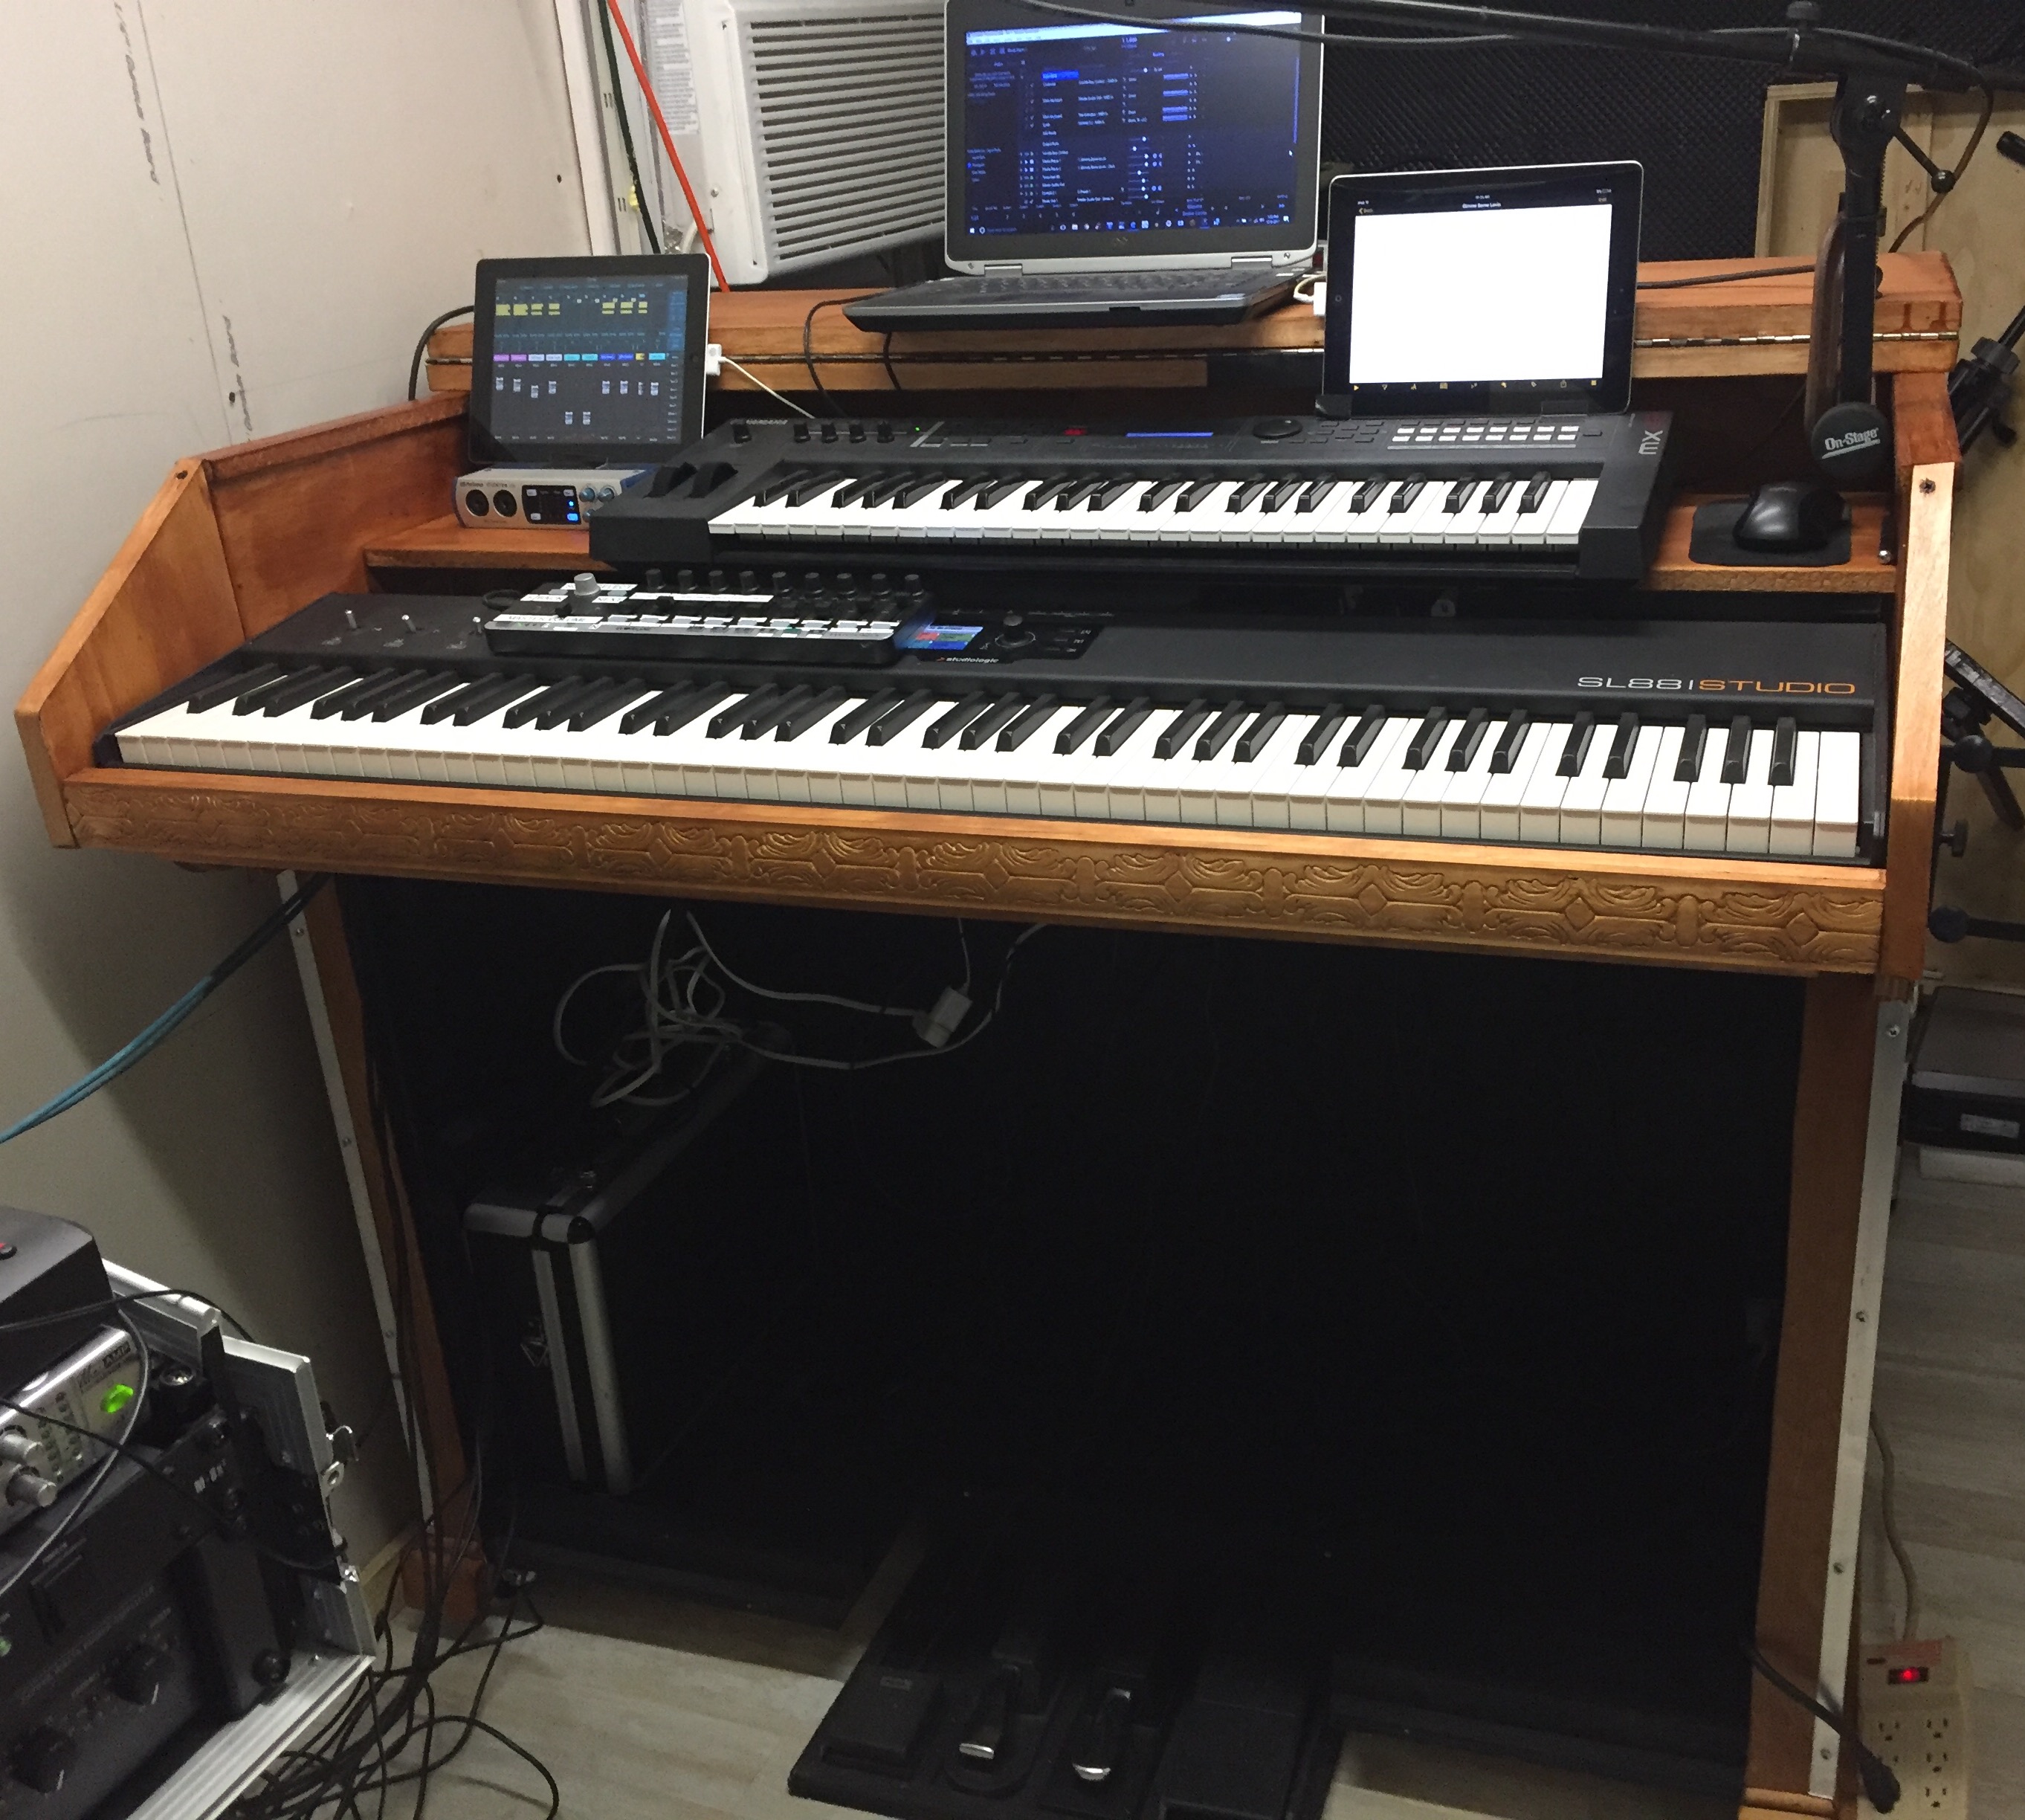
Much like my previous rig, this is just as, if not more portable. I’ve always loved the look of the Hammond C3 case with the slab sides, so that’s what it’s modeled after. The two screws you see and two at the bottom simply come out and the whole front comes off (I have plugs that hide the screws). I remove the two iPads and laptop and slide the controller straight back so the front is behind the separation line of the front addition and the two rubber pegs on the bottom of the keyboard drop in behind the top rail it sits on, locking it in place. (the C clamp has been removed and the square tubing was attached to the underside of the lid to hold the mic boom) The synth shelf has two screws that come out and the whole shelf slides straight back against two stops (to leave a 1" gap and protect all the cables) and the screws just get driven right back in to existing holes) The hinged top folds over and meets the front of the cabinet and butterfly latches
attached to a piece the same size as the shelf the MX49 sits on locks down the lid (after laying a piece of 1" foam over the MX and a 2" over the SL88). The Z stand minus the 2nd tier (it is now used as a support for the PA rack case) slides into the cabinet on the right hand side. The pedal board, and the PA rack goes in the left and the front wing slides in on top, corner to corner.
The piano hinges that used to hold the doors were retrofitted to the top and removable hinges were used for the doors, so they just slide on, the center post is simply screwed back in place…I almost forgot, the base molding simply unscrews into 2 side pieces and one for the front and they too reside underneath. The decorative base molding serves as a stop to make it easy to line up the screw holes. Two marks that you can’t see indicate the side to side placement, so it take all of :30 sec. to attach each piece. I wanted that classic mahogany and this pic shows it best because it was outside in the daylight

If you zoom in, you can see the decorative base molding. The corners of the baseboard are separated because it was drying with the poly on it. No need to have to try and separate corners that have glued themselves together.
This pic shows the handles (I just reused the same ones as before and retrofitted the metal edging)

All in all, I’m very happy with it and the fit is exactly as I designed it, all perfectly within reach. Oh, BTW, the interface and the MX have wide Velcro strips on the bottom so everything stays in place when packed up. I only have to connect the USB cables to the laptop and one each to the iPads. Everything else stays right in place and fully connected. I shut down the laptop and iPads with everything connected, and reconnect before booting up, so the laptop and iPads have no idea there was any disconnect.
3 Likes
Quite neat.
Looks great! How heavy is your faux C3 cabinet? My brain tells me it’s about 300 pounds. I assume it’s better than that 
Fred,
Thanks. It’s actually less than 85 lbs. without any gear. There’s no way I would cart anything as heavy as 300 lbs. if I had a crew of roadies carry it for me. It’s very easy to handle.
Thanks Derek. I had fun building it
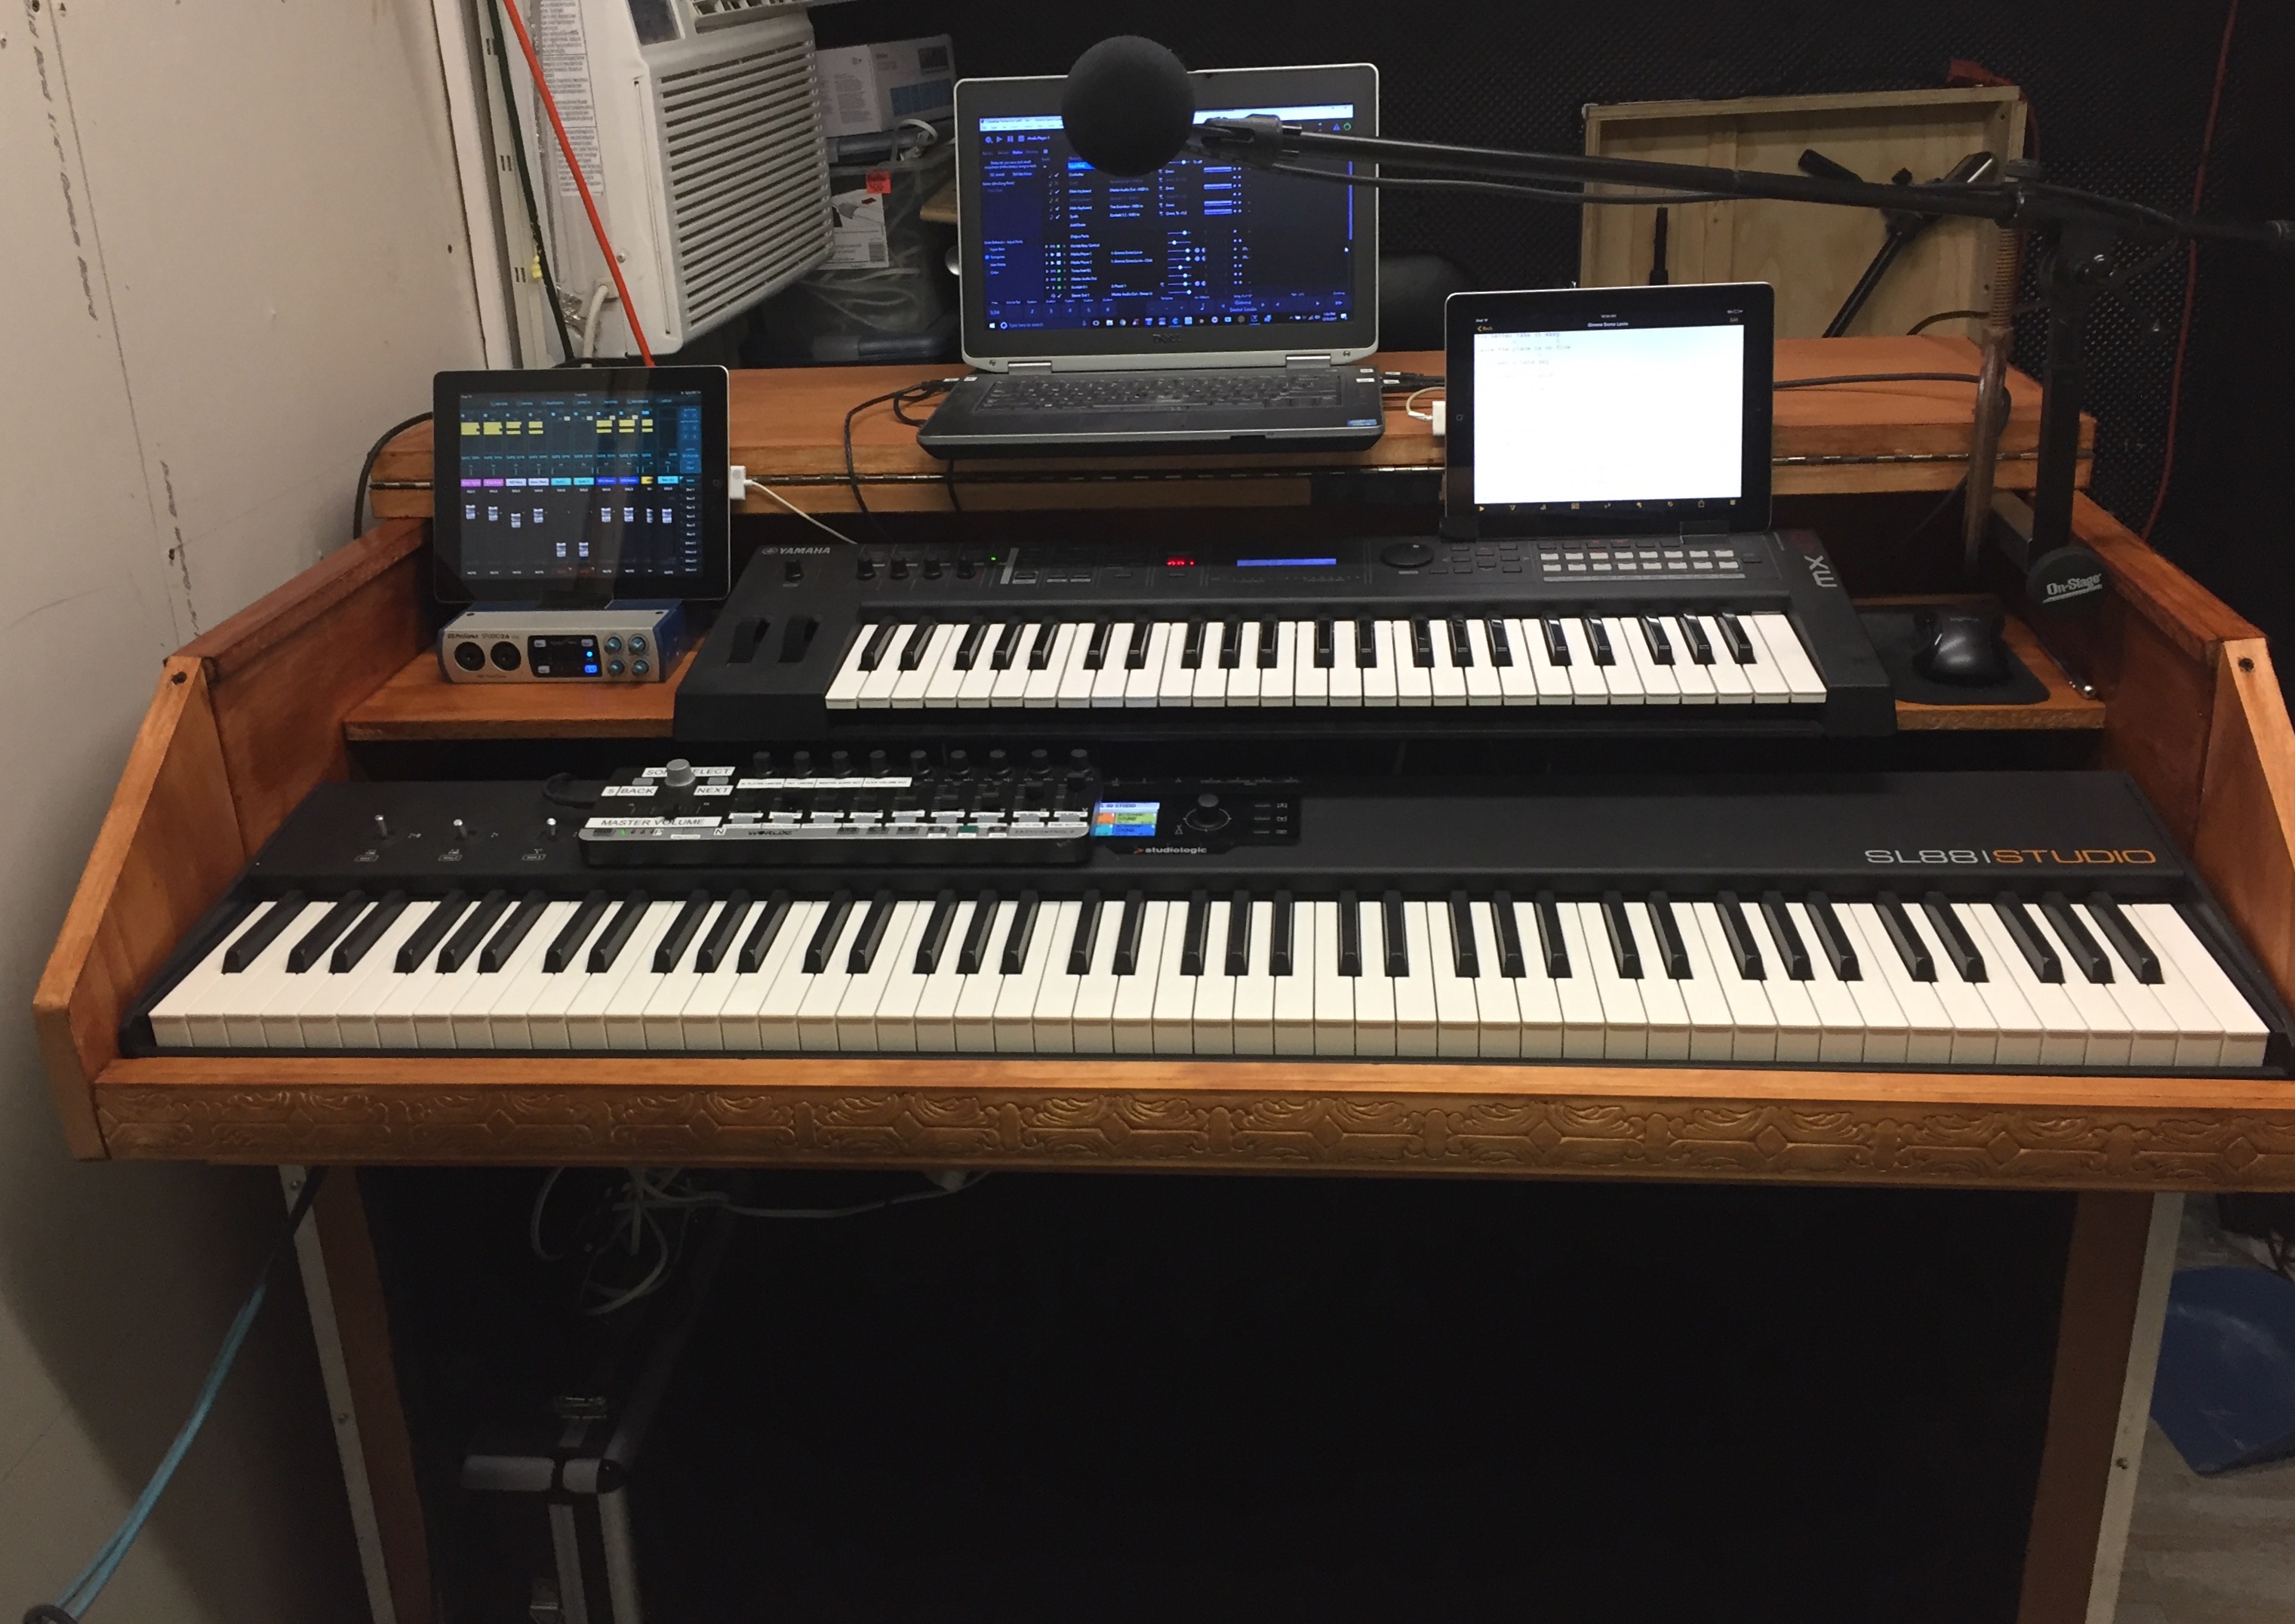
Well, after many months preparation, the new rig described above, and re-pictured here had its first outing at a low key open mic afternoon at my local music venue, where I was trying out some new ideas to see if the venue owner would like to put on a solo gig based on them (he did ![]() ). It went very well, and well received.
). It went very well, and well received.
So, as well as the Montage and Kronos, I had Cantabile running a backing track for one song, and then a solid click for another where timing is crucial and everything needs to be tempo synced, but the icing on the cake was finally having a computer powerful enough to run the more demanding VSTis.
So, in this set I used
- Spectrasonics Omnisphere and a lovely vocal pad sound called Ocean Garden from the Plugin-Guru “Kreatureesque” sound set
- UH-E Diva (in many places!) and REPRO-1
- Arturia Minimoog
- XILS Polymoog
- XILS PolyKobol
- Valhalla Reverb
With Cantabile providing all the splits and layers and routing between everything. Despite having had a few crashes in the studio, as this was not really a “proper gig”, I went with using the latest 3511 build, and it worked without a hitch.
So, its great to finally have this rig together with Cantbile at the heart of it. I am going to have a lot of fun with it with all of the various permutations it allows me. ![]()
Kudos due to Brad for making such a fantastic program, and thanks to all of the advice and help I’ve had over the past year in getting this together
6 Likes
This is a great testament to Brad and 35XX. Thanks for sharing Derek. Nice rig. So looking forward to using 35XX.
Corky
2 Likes
Absolutely concur with Corky Derek. That is a very slick no nonsense rig. Super clean setup. Congrats on the successful run and the ongoing work.
1 Like
LivePrompter rig looks sweet! Looks like you have the exact same laptop stand I do, or did- I think I left it in New Jersey. 
Updated pic with the addition of 3 UPSes, a home made 2U fan module, DMXIS lighting controller and a DMX splitter since my post last May. The DMX splitter is so that I can add one DMX signal cable to each snake that carries power and audio to each PA speaker & light bar, rather than daisychaining from light to light.

The blue USB cables are breakout loops from the PC to the mixer and USB hub, so that I can quickly plug in another PC or sound interface if something breaks.
The 3 UPSes are low voltage, and set at
- 19V - for the PC and WIFI router.
- 15V - for the MOTU mixer),
- 12V - for the Roland keyboard and the 13 port powered USB hub
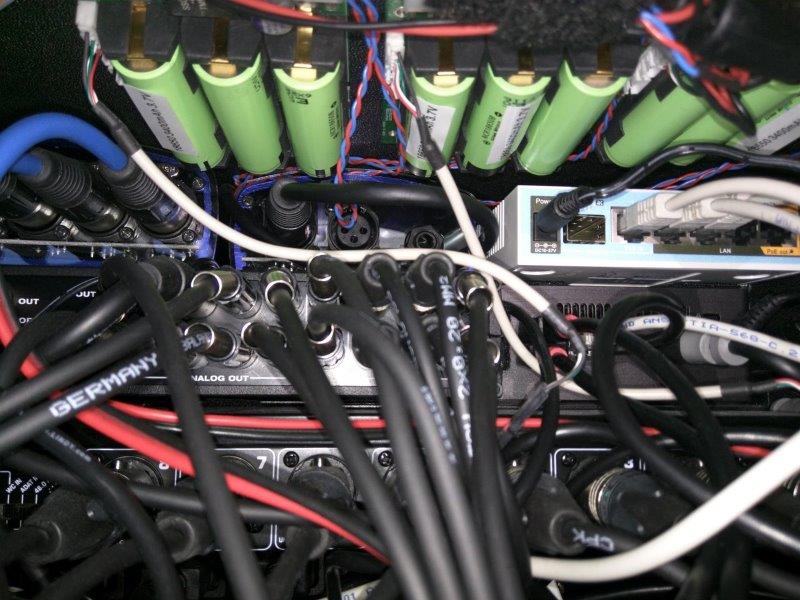
A little cable tidying to do… Each UPS takes 3 18650 Lithium-Ion batteries and is an OpenUPS2 from here. They are bolted to the underside of the top of the rack.
I’m one of the few that prefers low voltage inputs to equipment so that I can UPS enable them like this.
A 240V UPS would not have fitted into this rack and would have weighed much much more because it uses lead acid batteries.
These UPSs have saved me from a 3 minute restart and potential file corruption a number of times since I put them in last September.
The 3 green lights/buttons on the front of the rack show me the UPS status and are also switches so I can easily turn them off after use. Otherwise the UPSes would keep power going until their batteries flatten.

3 Likes
Very nice, although I don’t think I’ve seen that extent of cabling since touring in 1975. 
1 Like
Mmmm, rack porn!!
How do you get inside to make changes? It looks like you have no space even to get a hand inside anywhere…
Neil
1 Like
From the back, the fan unit comes out and disconnects via one jack plug. Then the top connector U comes off with wingnuts and I rest it on top of the rack. If necessary, it mostly has the ouputs from the ADA8200 and USB which all disconnect easily.
From the front, That top connector block comes out easily enough which lets me get hands in if I need to check anything. For serious work, the ADA and the power switch module have enough slack to slide outwards partially.
There is enough cable slack everywhere to slide any individual item out and/or all of the panel connector modules.
2 Likes
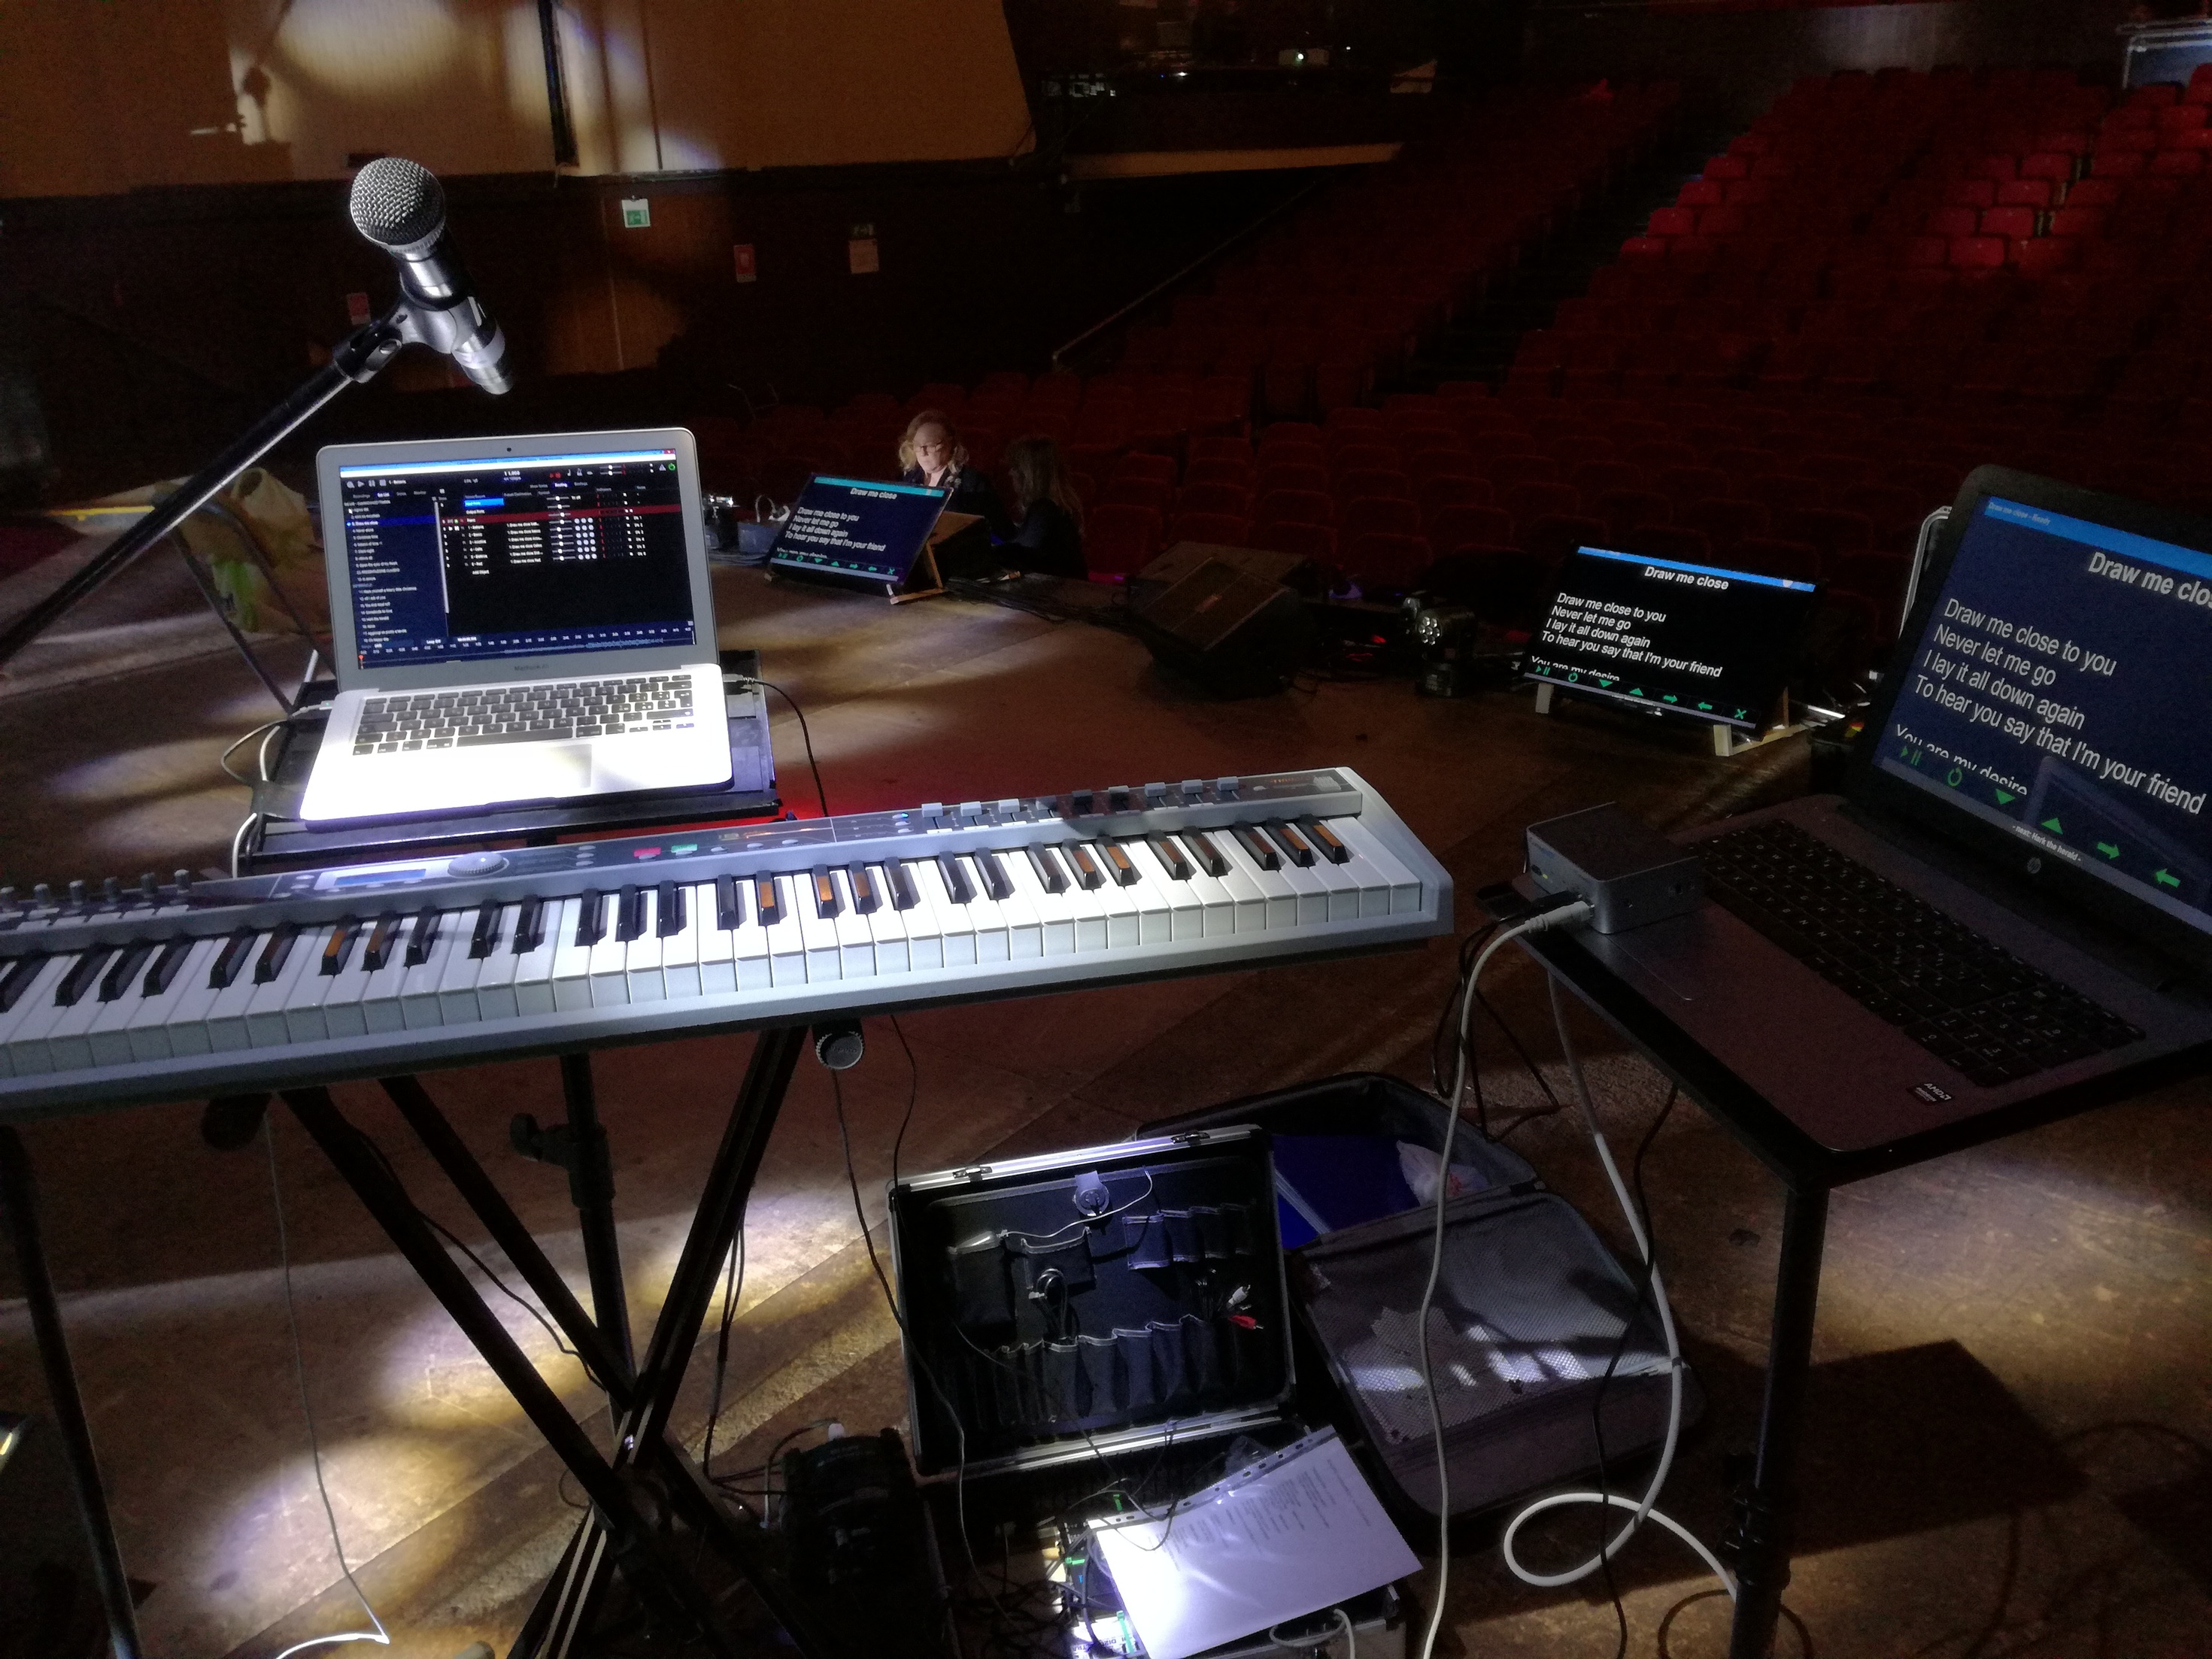
A couple of pictures of my keyboard rig from the IQ show near Milan, Italy last night. First gig with the latest Cantabile 3500-series build, and it worked flawlessly.
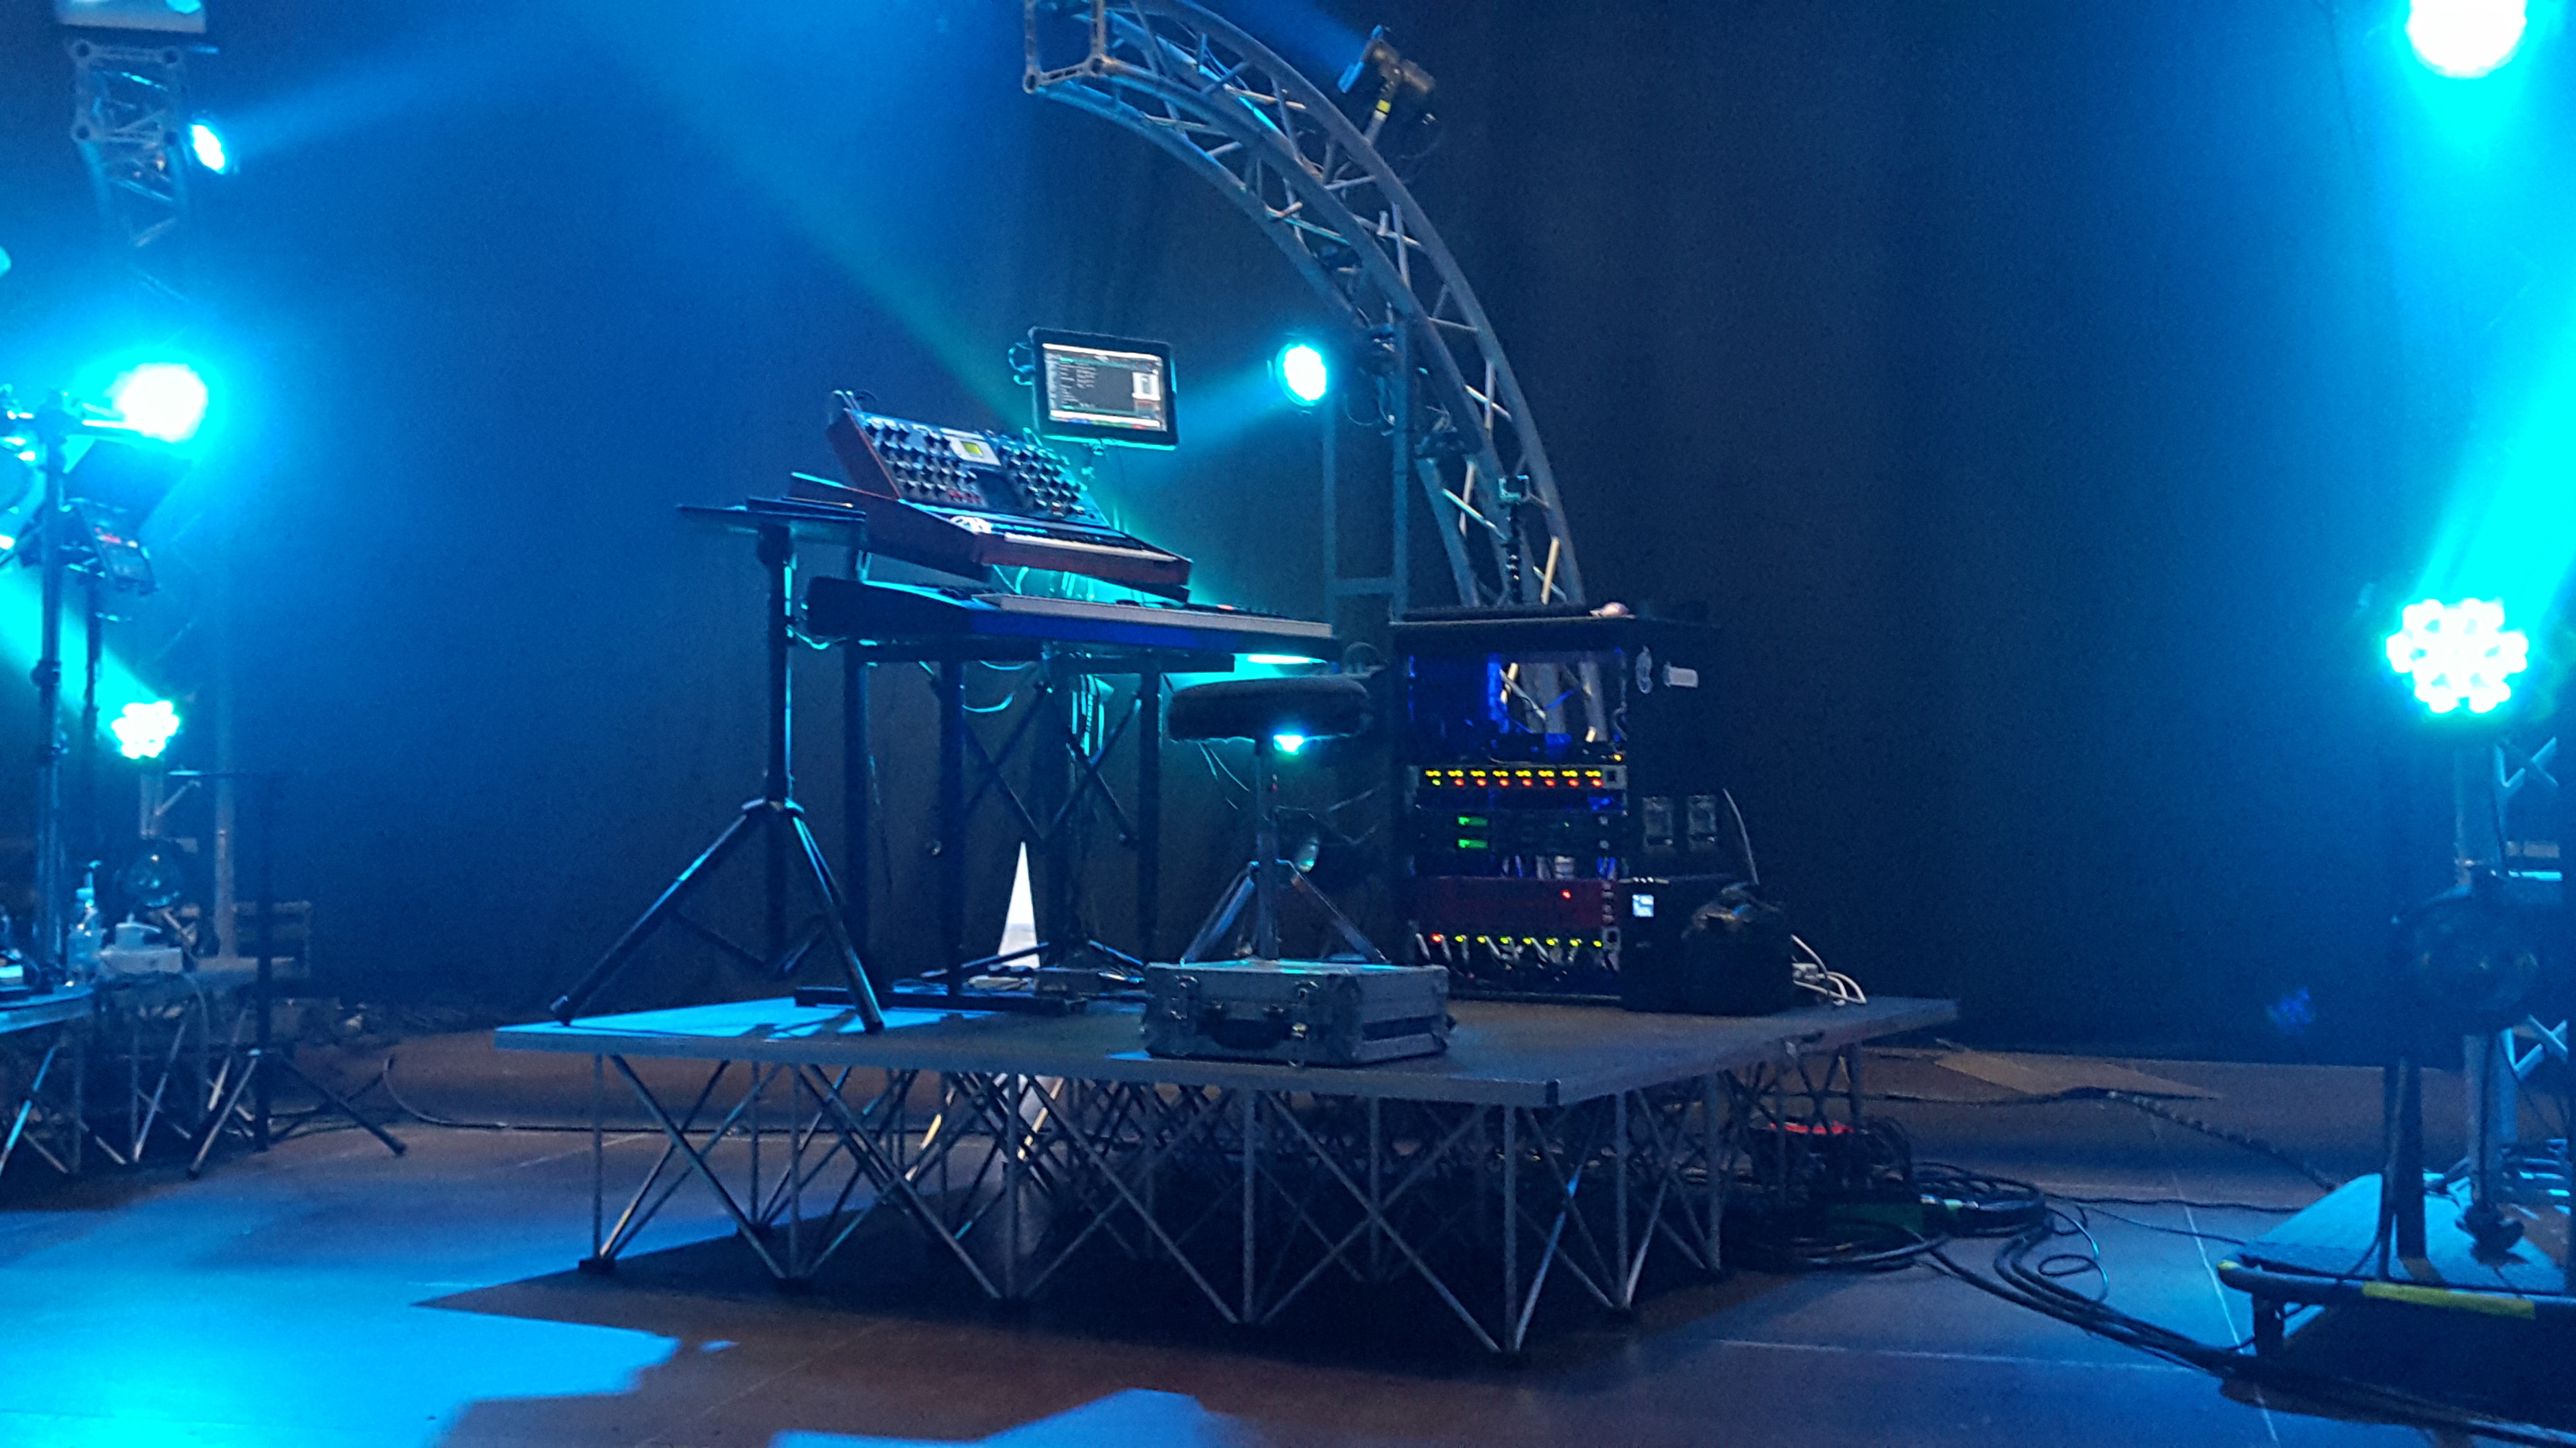
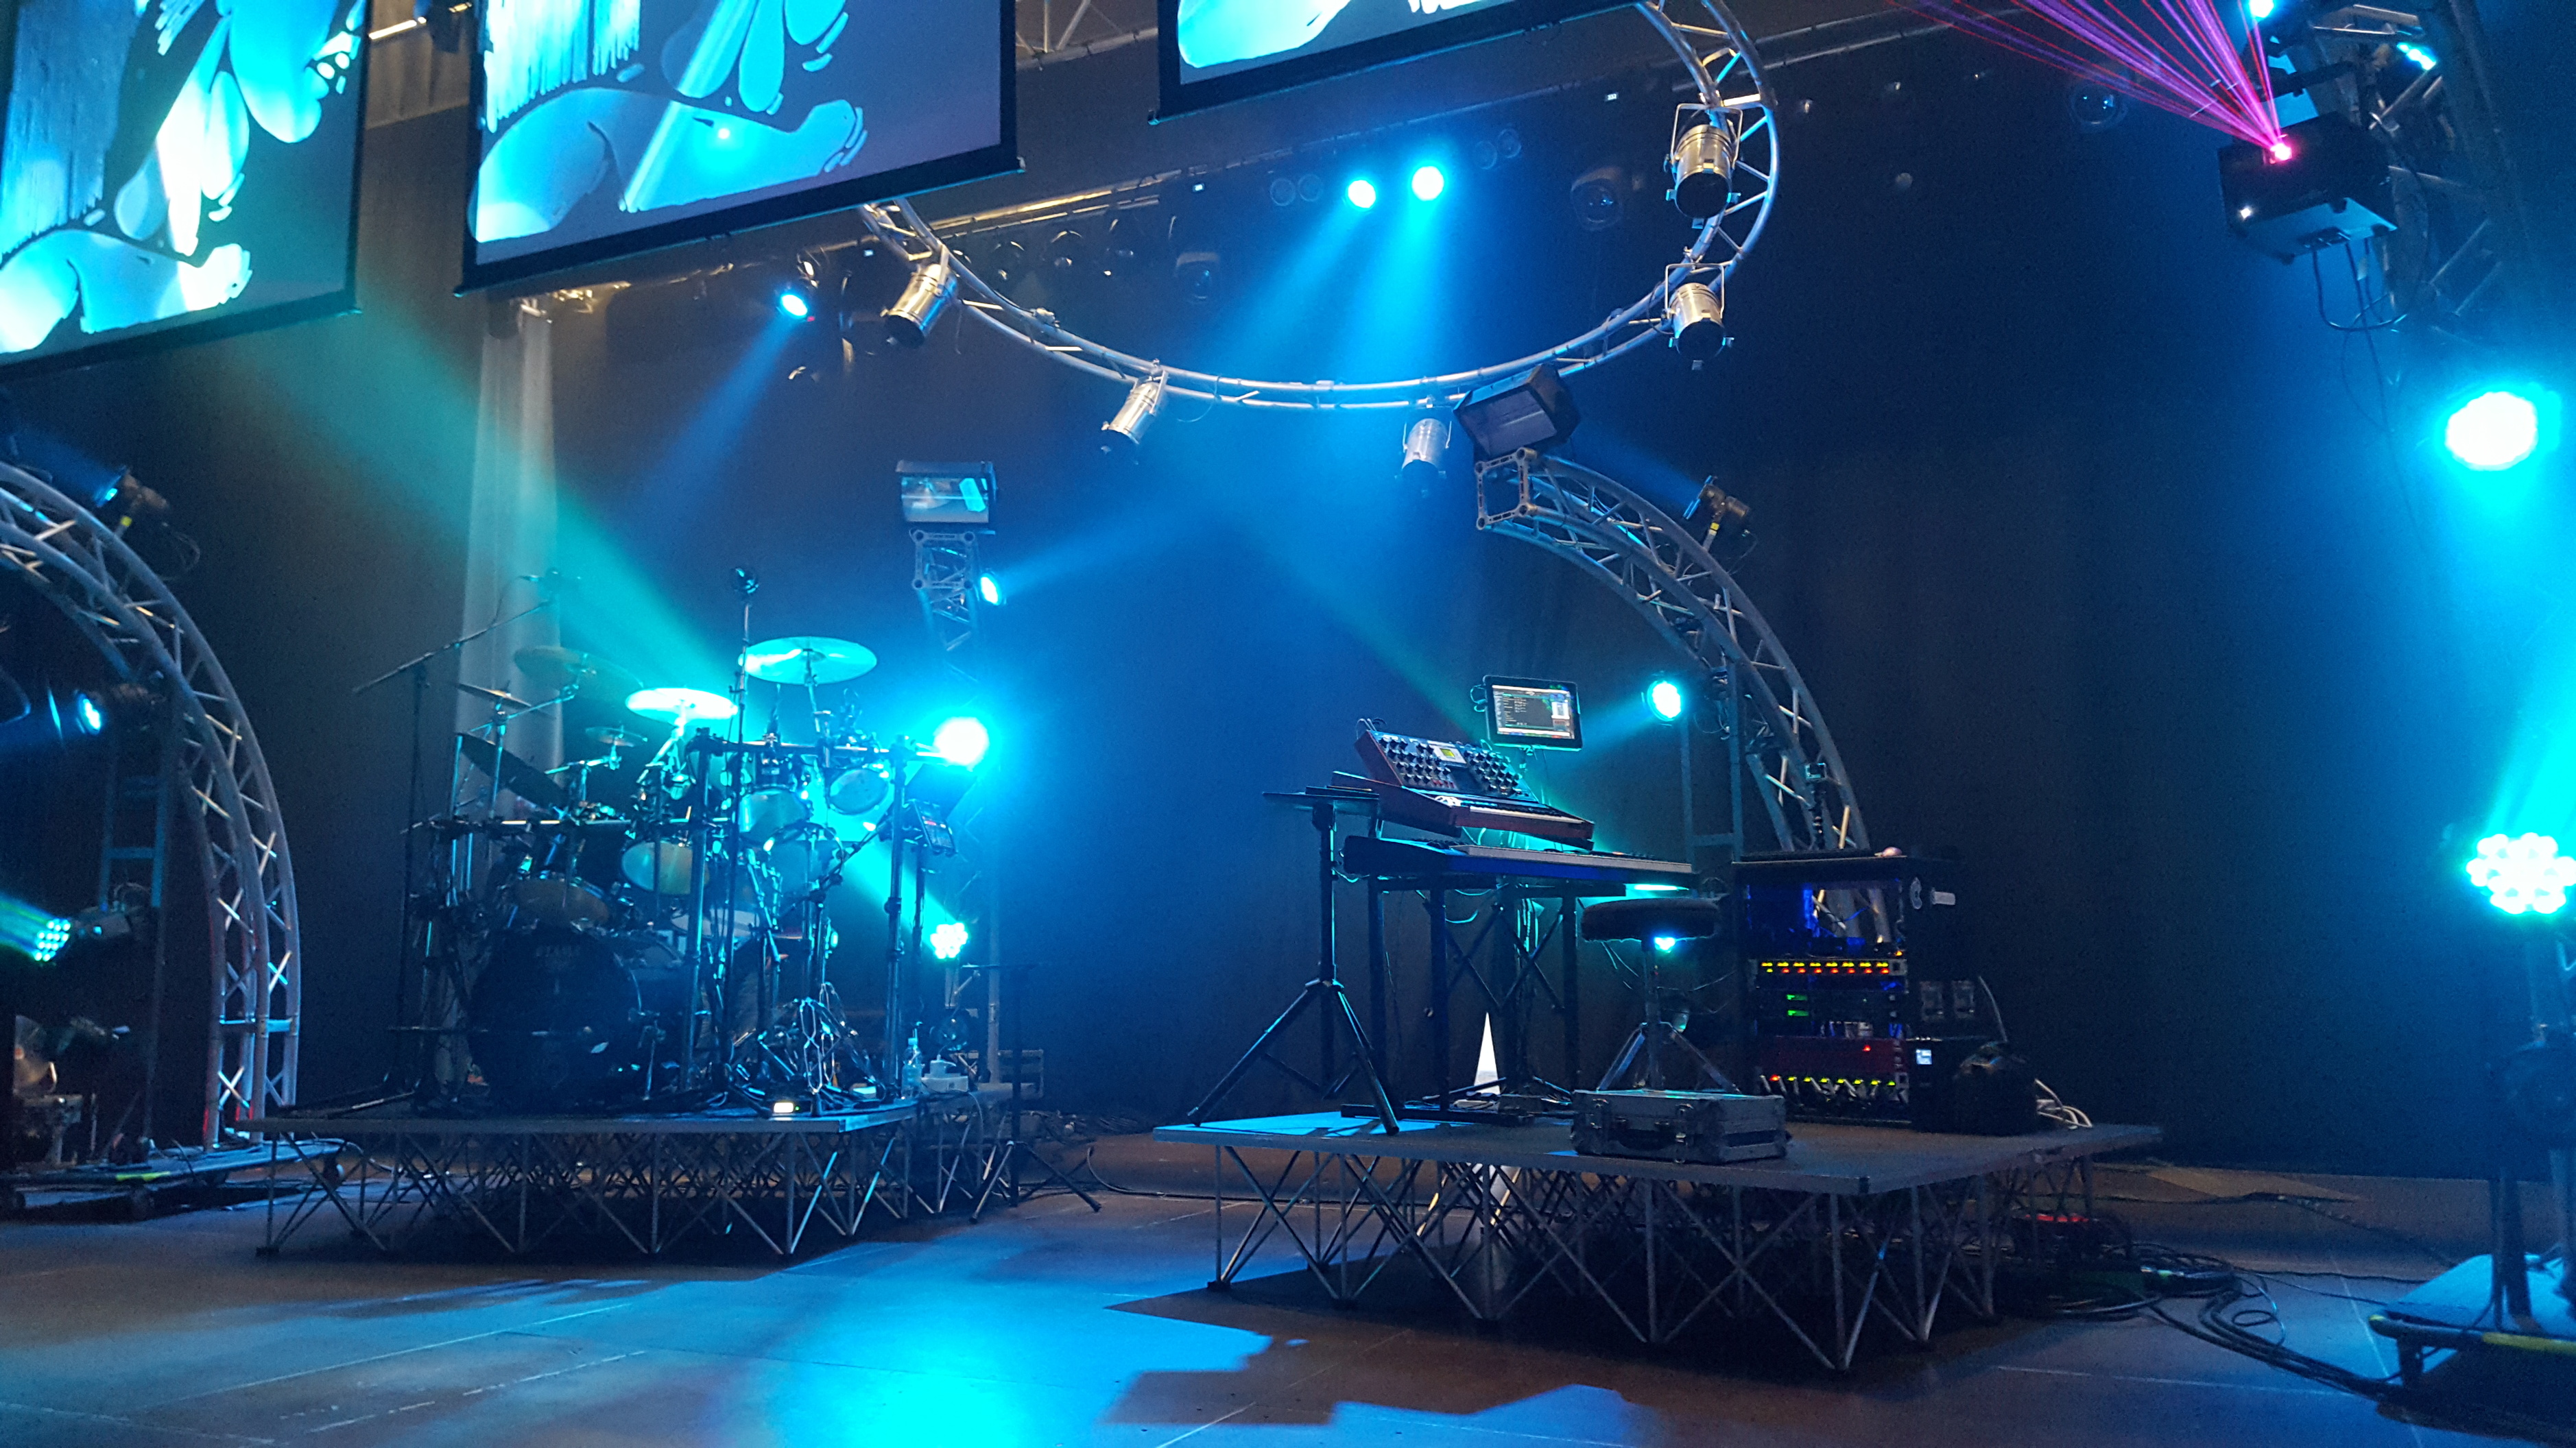
Neil
11 Likes
Cool, stage shots, Neil.
Forgot to shout out that I saw you tucked away on Page 123 of the latest Prog issue! Which was reporting on your IQ Islington gig (shame it is on the opposite side of the country to me!).
PS: Hope the new album is coming on. “Road of Bones” is currently playing as I type this!
1 Like
Cheers Derek! Glad you’re enjoying The Road of Bones! New album coming along nicely so far!
Neil
1 Like
Looking forward to it