Thought I’d post my solution to extracting heat from my mini rack, because I couldn’t find one to buy off the shelf at a reasonable price.
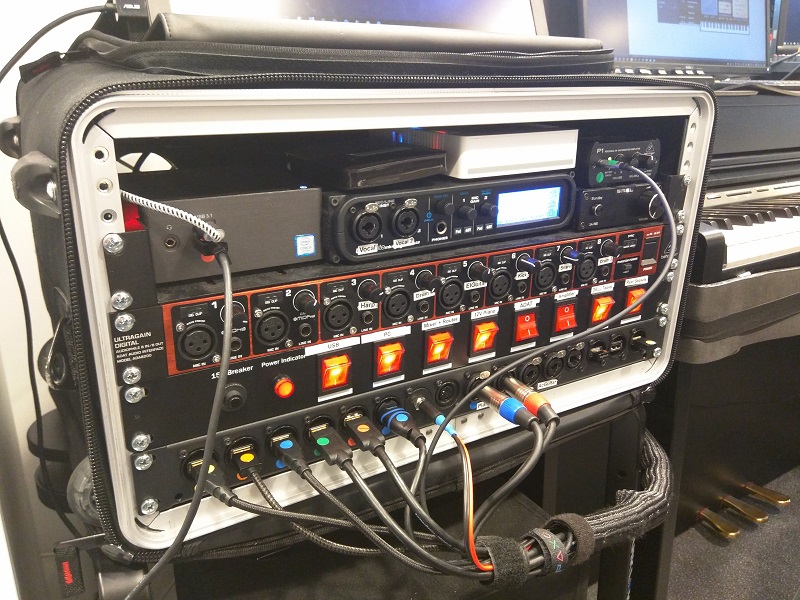
This rack has 6 power bricks contained within. They supply a small Gigabyte i5 BRIX PC, USB hub, Audio interface/mixer, 12V for stage piano, WiFi access point and router, digital amplifier, headphone amp and a Dell Venue Pro tablet charger. I wanted to suck heat from the front and blow out of the back of the rack.
I couldn’t find a reasonably priced 2U fan module to buy so I ended up making one. I’ve put 2 fans in this one, but have left space so I can add 1 or 2 more if it became necessary.
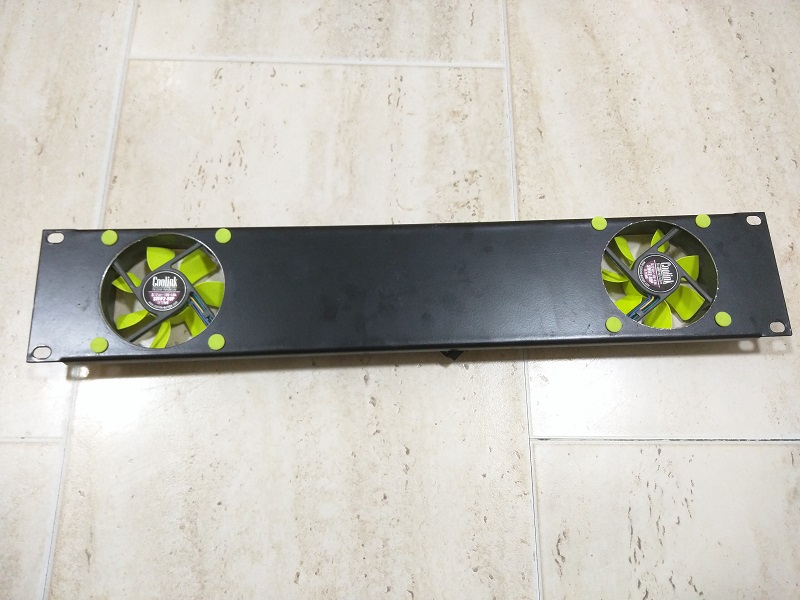
Here is the result
Kit list
- 2U steel blanking panel - with folded lip for strength
- 2 fans. I used these, because they were 80mm which is perfect size for a 2U panel, and they are also 4 pin fans which meant the speed could be controlled. link
- Almost any 12V wall brick will do, each fan takes 0.1A.
- The fans come with soft rubber mounting bolts, and also a splitter so both fans can be connected together.
- I happened to have a 76mm BiMetal Holesaw like this link (you also need the central arbour)
Construction was a case of lining up the fans on the blanking plate and marking out the holes then creating a connector for the fans, and wiring up to the 12v power brick.
I could have stopped here, which would have worked fine. These fans are almost inaudible at minimum speed. But at high speed they make a small amount of noise which would be no problem at a gig, but quite annoying at home.
I wanted temperature based speed control which would increase the fan speed above around 23 degrees C.
You can buy the PC modding fan controllers, but most of them are manual speed control only. The 1 or 2 temperature based fan controllers you can buy are very expensive and too big for what I wanted.
I made my own temperature controller using an Arudino.
Here is the back side of the panel. It is not as neat as it could be but this is a prototype - I have a smaller Arduino that will go in this space eventually. This one serves the purpose for now.
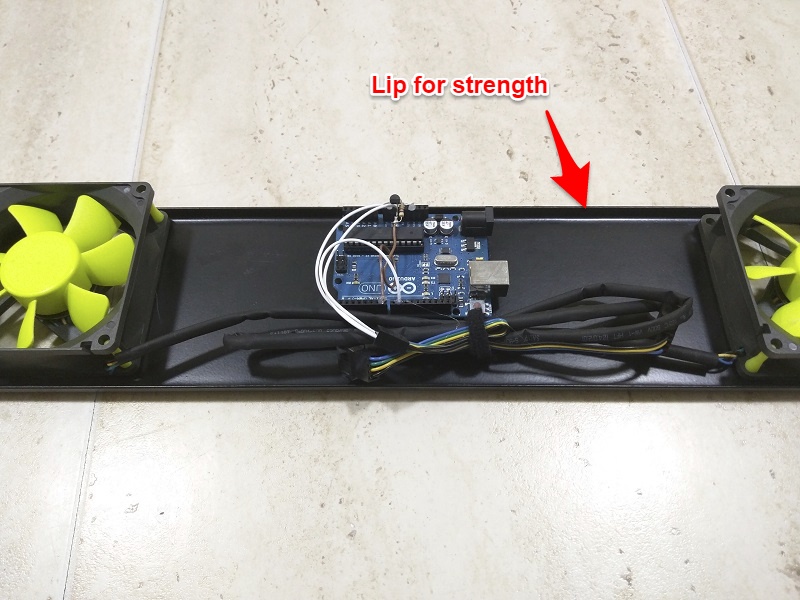
I dabbed a bit of hot glue onto the components to keep them in place.
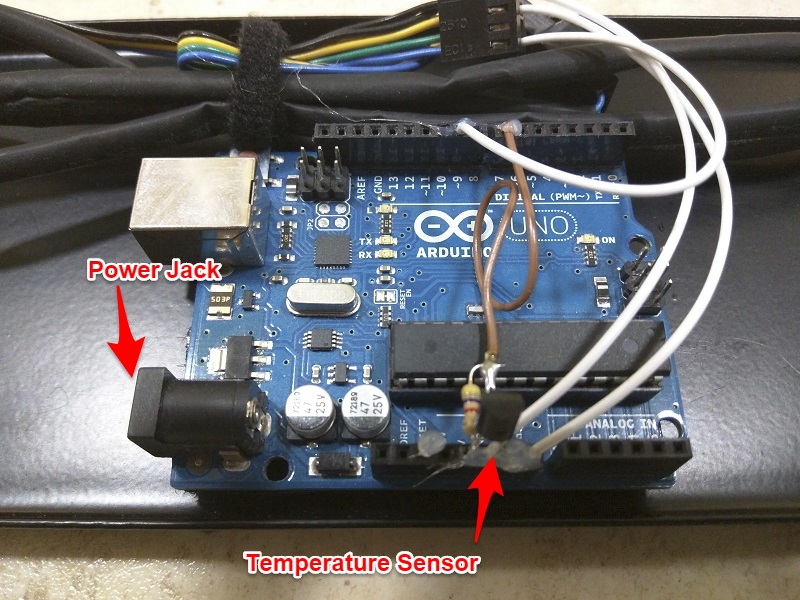
The Arduino uses a small 1-wire temperature sensor, and directly controls the PWM pin on both fans.
Most 12V wall bricks will plug straight into the Arduino DC jack. The 12V is also then presented onto the Vin pin which I use to feed the fan supply.
Heres a pic of the back of the rack

heres a pic of the front.
Happy to share the Arduino sketch if anyone wants it. It is a PID controller, not particularly well tuned, but it doesn’t really need to be.

